Student Tech 2026: the complete back-to-campus setup guide
Last updated: 2026
Build a study-ready tech stack for classes, group projects, and focus. This guide combines long-form
advice with tested product picks and practical setup rules.
Quick tip: start with one upgrade, not ten.
Lock in a reliable laptop and power setup before you add extras.
Overview: what a student tech stack should do
A student tech stack should do three things: protect focus, reduce daily friction, and survive unpredictable
schedules. That means your setup must be reliable, easy to carry, and fast enough for assignments and group work.
The ideal stack balances performance and portability, with enough storage for course files and cloud backups. It
should also support study workflows like note capture, document scanning, and collaboration. You do not need the
most expensive devices. You need the right mix of tools that work together and reduce the time between idea and
submission.
This guide is long because student needs are broad. A commuter student has different needs than a dorm resident.
A design student needs a different device stack than a business student. The sections below break down the stack
in practical layers: budget planning, device selection, daily workflows, and focus habits. When you combine these
layers, your setup becomes a system rather than a collection of gadgets. For more AI-specific study tips, see
AI tools for students
and for study-friendly gear see
student tech essentials 2026.
This guide includes both the long-form setup advice and the existing product picks below. Use the long sections
to build your plan, then use the product picks as the concrete next step. The combination gives you the most
value: strategy and execution.
Who this guide is for
This guide is designed for students who want a setup that works every day without friction. It is for first-year
students who are buying their first serious laptop and for upper-year students who are ready to upgrade. It is
also for commuters who need a portable setup that survives long days on campus, and for dorm residents who need
a compact workspace that stays clean in a shared room. The advice is not brand-specific. It focuses on outcomes
like reliable note capture, fast collaboration, and low-stress exam weeks.
The most important thing to know is that you do not need every gadget. A strong student stack is a small system:
a dependable laptop, a way to take clear notes, a method to back up files, and a workspace that helps you focus.
If you only build those pieces, you are already ahead. The rest of the guide shows you how to add tools based on
your actual workload rather than trend pressure or social media checklists.
How to use this guide
Start with the principles and budget sections, then skim the device stack to confirm what you already have. If
you are buying new gear, read the buying guide before you shop. If you already own a laptop, jump to study
workflows and focus habits. You can also use the product picks later in the page as a short list of tested
options. The goal is to make a plan in one session and then buy or adjust items over time.
A good way to read this guide is to take notes while you go. Write down your current bottlenecks, then map each
problem to a possible fix. For example, if you miss deadlines, focus on planning tools. If you struggle to
remember readings, focus on a summary workflow. If your laptop battery fails mid-day, prioritize power upgrades.
This method turns the guide into a personalized checklist rather than a generic list of recommendations.
What changes in 2026
The biggest shift in 2026 is that student workflows are more hybrid. You may have in-person lectures with online
labs, group assignments that live in cloud docs, and recorded lectures that require streaming. That means your
setup must be equally strong for in-person classes and remote work. It also means better microphones and cameras
matter more than they did before.
AI tools are also more common in everyday study. They can help with summaries, outlines, and practice prompts,
but they require careful use and respect for school policies. For a deeper look at safe usage, see
how to learn AI skills
and
AI ethics and privacy.
The best approach in 2026 is to use AI as an assistant while keeping your own understanding in control.
What a complete week looks like
A good student tech stack makes a full week feel manageable. On Monday, your calendar and task list remind you
of upcoming deadlines. During lectures, your note system captures key points in one place. Midweek, you review
notes and create short summaries, which become study guides for later. On Thursday or Friday, you complete group
tasks using a shared document and clear owner assignments. Over the weekend, you back up files and reset your
workspace. This cycle is simple, but it is consistent. That consistency is what makes a busy semester feel
predictable rather than chaotic.
The goal is not to be perfect. The goal is to reduce friction so you can spend time learning instead of
organizing. When your setup supports the week, you avoid late-night scrambles and unnecessary stress. The rest
of this guide shows you how to build that kind of system step by step.
If you only take one idea from this guide, make it this: your setup should reduce decisions, not add them. When
tools are consistent, you spend less time figuring out where to work and more time actually working. A simple,
stable system outperforms a complicated one almost every time.
Think of your setup as a quiet partner that keeps you on track, even during the busiest weeks.
Core principles: focus, reliability, and affordability
Student tech works best when it is boringly reliable. That is the first principle. If your laptop fails during
a deadline week, no amount of software can fix it. Choose devices with strong battery life, a track record of
reliability, and good warranty coverage. The second principle is focus. Your devices should help you concentrate,
not distract you. That means choosing a headset that blocks noise, using a clean note system, and keeping your
workspace organized. The third principle is affordability. Students should not spend on features they will not
use. A better camera is useless if your classes do not require video. A high-end GPU is not needed for essay
writing. Spend where it matters, not where marketing tells you to.
A simple way to apply these principles is to ask three questions before buying anything: Will it reduce my daily
friction? Will it last the full school year? Can I afford it without compromising essentials like textbooks?
If the answer is no, it is not worth buying. This approach prevents impulse purchases and keeps your setup
sustainable. It also helps you focus on the devices that actually improve study performance: a good laptop,
a reliable headset, a portable charger, and a simple organization system.
When you build your setup around these principles, you gain flexibility. Your tech stack works in a dorm, a
library, or a coffee shop. You can study, collaborate, and submit work without friction. That is what the
student tech stack is meant to deliver: stability and freedom, not excess.
Reliability checklist
Reliability is not about buying the most expensive device. It is about choosing components that are less likely
to fail at the wrong time. Prioritize laptops with strong battery health, reliable hinges, and good thermal
performance. If possible, choose a model with a widely available charger. That makes it easier to borrow a
replacement on campus if you forget yours. Use a protective sleeve in your bag to prevent damage from books or
water bottles. These simple choices reduce the chance of a mid-semester device failure.
Reliability also includes software. Keep your operating system updated, but avoid major updates the night before
exams. Enable automatic backups for your notes. If you rely on a single app for everything, export a backup copy
once per month. Reliability is a habit, not a feature.
Focus defaults
Focus is easier when your setup starts clean. Keep a default browser profile with only your study tools. Use a
separate profile for entertainment. This simple separation reduces the temptation to switch tabs mid-session.
Use a minimalist desktop with no distracting icons. Turn off non-essential notifications. These changes take
minutes to set up but save hours of distracted time each month.
Consider setting up a weekly reset ritual. Every Sunday, clear your downloads folder, close unused tabs, and
plan your week. This keeps your device and your mind aligned. It also makes it easier to start work on Monday
without the clutter of last week.
Affordability tactics
Affordability is not just about low price. It is about cost per semester. A laptop that lasts four years can be
cheaper than a budget device that fails in year two. When comparing prices, include expected lifespan, warranty,
and battery replacement cost. Also consider whether a device supports resale value. A well-maintained laptop can
be sold after graduation, which reduces your true cost.
Look for student discounts, refurbished programs, and campus tech stores that offer warranty support. Avoid
buying the absolute cheapest model if it will slow down your coursework. In most cases, a mid-range laptop with
enough RAM is a better long-term value than a low-end device that constantly stutters.
Budget planning: build a strong stack without overspending
Budget planning is where most students either overspend or underinvest. The right approach is to allocate money
based on daily usage. Your laptop is the most important device, so it should receive the largest portion of your
budget. The second priority is your audio setup because it directly affects focus and class participation. The
third priority is power and storage, which keep your workflow stable when you are away from a wall outlet or
working with large files. Everything else is optional. When you follow this order, you end up with a stack that
supports both study and daily life without draining your finances.
A practical budget formula is 60/20/10/10. Allocate about 60 percent to your laptop, 20 percent to accessories
that directly affect focus (headphones, keyboard, mouse), 10 percent to power and storage (chargers, SSDs), and
10 percent to convenience items (stands, hubs). This formula is flexible. If you already have a laptop, shift
more budget toward accessories and power. If you are buying a new laptop, prioritize that first and delay
secondary accessories until you have more funds. The key is to avoid spending 50 percent of your budget on
non-essential items.
Another budget rule: buy one thing that lasts all year, not three cheap items that fail. This is especially true
for chargers and cables. A reliable GaN charger or a strong USB-C cable can prevent multiple small failures.
The same logic applies to backpacks and cases. A durable case protects your laptop and prevents expensive repairs.
If you need guidance on value picks, the budget section later in this guide provides student-specific ranges.
Three budget tiers that still work
A practical way to plan is to choose a tier. A starter tier is for students who need a reliable basic setup for
writing, reading, and video calls. This tier focuses on a solid laptop, a dependable charger, and a basic headset.
A mid-tier adds better audio, a small external drive, and a simple desk setup. A premium tier adds a second
display, a mechanical keyboard, or a tablet for handwritten notes. The key is that each tier is functional on
its own. The premium tier does not replace the core. It builds on it.
You can move between tiers over time. If your budget is tight this semester, buy the core items and add
accessories later. Many students build their stack across two semesters. That is normal and often smarter than
trying to buy everything at once. The goal is stability, not instant perfection.
Upgrade order that avoids waste
If you already own a laptop, upgrade in this order: storage, memory, power, then accessories. Adding a fast SSD
or upgrading RAM often makes a bigger difference than buying new peripherals. Once performance is stable, add a
better charger and a strong backpack. Only then invest in optional accessories like stands or speakers. This
order maximizes value because each upgrade reduces real friction.
For most students, the most noticeable upgrade is a better power system. A compact charger and a reliable power
bank remove daily stress. You can stay on campus longer without hunting for outlets. That is a bigger advantage
than a slightly larger screen.
Hidden costs to plan for
Students often forget about hidden costs: printing, software subscriptions, and replacements for lost accessories.
Budget a small monthly amount for these. If your program requires specialized software, check whether student
licenses are available. Many universities offer free access to Office, creative suites, or cloud storage. Use
those benefits before paying out of pocket.
Funding and discount sources
Many students can lower costs by combining discounts. Campus bookstores often offer student pricing on laptops
and accessories. Some programs provide device grants or bursaries for technology. Check your student portal for
these options before you buy. Credit card promotions and back-to-school bundles can also reduce total cost, but
make sure they do not require long contracts or unnecessary subscriptions.
If you need to spread costs over time, prioritize the core device first and delay optional accessories. Borrow
or share peripherals with roommates when possible. The key is to use discounts strategically rather than buying
items just because they are on sale.
Study workflows: build routines that save time every week
The biggest advantage of a strong student tech setup is that it makes study workflows repeatable. A good workflow
reduces cognitive load because you do not have to decide what to do each time you study. The core workflow is
capture, summarize, practice, and review. Capture means getting notes quickly, whether by typing, recording, or
scanning. Summarize means distilling notes into the key ideas. Practice means using those summaries to answer
questions or create flashcards. Review means checking the original materials to verify accuracy and reinforce
understanding. When you follow this workflow consistently, your study time becomes more efficient and less
stressful.
A practical example: after each lecture, you capture notes in a single document. At the end of the day, you use a
summarization tool to create a one-page summary. Then you create flashcards based on the summary. At the end of
the week, you review the flashcards and check any confusing points against the textbook. This workflow takes 30
minutes per day but prevents last-minute cram sessions. It also reduces the chance of missing key concepts.
Use your tech stack to support this workflow. A good laptop with long battery life ensures you can take notes
all day. A lightweight tablet or e-reader helps with reading assignments. A scanner app on your phone helps
capture handouts. If you use AI tools, keep them for drafting summaries and practice questions, not for final
submissions. The AI should support learning, not replace it. This is why the guide
AI tools for students
focuses on safe and effective use.
For group projects, the workflow shifts slightly. You need a shared workspace, a clear task list, and a schedule
for review. The best approach is to assign one person to maintain the shared document and one person to track
deadlines. This reduces confusion and prevents duplicated work. A simple shared doc and a task board are often
enough. The key is to keep the workflow visible to everyone.
Lecture capture system
A lecture capture system should be fast and consistent. Choose one note-taking method and stick to it for the
whole semester. For typed notes, create a template with headings for key terms, examples, and questions. For
handwritten notes, scan them after class with a phone app and save them in a course folder. The goal is to avoid
scattered notes across multiple apps. When everything lives in one place, review sessions are shorter and more
effective.
If your lectures are recorded, avoid rewatching full videos. Instead, use timestamps and write a short summary
after each class. That summary becomes your review sheet later. The time you save from not rewatching long videos
can be used for practice problems, which usually improve grades more than passive review.
Reading workflow that actually sticks
Reading is where many students lose time. A good workflow uses a three-pass system. First pass: skim headings and
summaries. Second pass: read the most important sections and highlight key ideas. Third pass: write a short
summary in your own words. This summary is more valuable than highlights because it forces you to process the
material. If you have heavy reading weeks, use AI summaries to pre-read, then verify against the text. That
method reduces time while keeping comprehension intact.
Keep a running glossary of terms for each class. This works especially well in science and social science
courses. A simple list of terms and definitions becomes a study tool for exams and reduces the need to search
through textbooks later.
Project workflow for multi-week assignments
Long projects fail when the work is not divided early. Start by creating a single master document with all
requirements, then break tasks into weekly milestones. Use a shared calendar for deadlines. Keep all resources,
drafts, and references in one folder. This prevents confusion when the project enters the final stretch.
A good rule for group work is to review a draft once per week rather than at the end. Weekly check-ins reduce
last-minute conflicts and allow you to fix issues before they grow. The combination of a structured workflow and
a shared folder often saves more time than any productivity app.
Exam prep sprint
Exam preparation works best when it is staged. Two weeks before the exam, convert notes into a one-page outline
per topic. One week before, convert the outlines into flashcards or practice questions. In the final days, focus
on weak areas instead of rereading everything. A simple method is to test yourself for 20 minutes, then review
the mistakes for 10 minutes. This cycle builds recall more effectively than passive review. Your tech stack
supports this by keeping your notes searchable and your practice materials organized in one place.
If you have multiple exams, create a rotation schedule so you touch each subject every day. Even 30 minutes per
subject helps memory retention. Use your calendar to schedule these sessions so they feel like a fixed class.
This reduces procrastination and makes your review predictable. The best exam weeks are the ones where the
workflow is already built, not improvised.
Group collaboration playbook
Group projects often fail because communication is scattered. The fix is to choose one central workspace and
keep all tasks there. Create a shared agenda for meetings, then store action items in the same document. Use a
shared folder for assets so everyone can find the latest version. Encourage each member to add their updates in
a consistent format. This reduces the time spent searching for files and clarifying responsibilities.
Use a simple rule for meetings: every meeting ends with a summary and clear owners for each task. This keeps
momentum and avoids confusion during the next session. If your group is large, assign one person to maintain
the document and one person to monitor deadlines. These two roles reduce chaos and keep work moving.
Presentation workflow for class projects
Presentations are common in many programs, but they often take more time than expected. A strong workflow starts
with a clear outline, not a slide deck. Draft the key message in a document first. Then translate each point into
one slide. Keep slides visual and simple. Use speaker notes for details. This approach reduces clutter and makes
your presentation easier to deliver.
Build your slides in a shared folder so teammates can review and comment. If your course requires a live
presentation, test your audio and screen share before the session. Keep a backup copy of the slides on a USB
drive or in offline mode. These small steps prevent last-minute technical issues and make you appear prepared.
Device stack: what you need for study, class, and life
The student device stack has three layers: the core device, the secondary device, and the support layer. The core
device is your laptop. It should handle classwork, research, and assignments without lag. A modern CPU, 16 GB of
RAM, and a fast SSD are the ideal baseline. The secondary device can be a tablet or phone used for reading,
scanning, or quick note capture. The support layer includes chargers, storage, and accessories that keep the
system stable. A USB-C hub, a power bank, and a portable SSD are small purchases that prevent larger problems.
If you are in a specialized program, your stack may need adjustments. Design and engineering students often need
more processing power and better displays. In those cases, prioritize a stronger CPU and more RAM, even if it
adds weight. Business and humanities students can prioritize portability and battery life. If you are unsure, a
mid-range laptop with 16 GB of RAM is a safe choice for most programs. This is where the product picks section
becomes useful because it highlights tested options rather than theoretical specs.
Do not underestimate accessories. A small laptop stand improves posture, a good mouse reduces fatigue, and a
headset improves focus. These items are not flashy, but they make daily work smoother. If you need ergonomic
help, the guide
best ergonomic chairs with lumbar support
provides options for comfortable seating during long study sessions.
Laptop specs by workload
For writing and research-heavy majors, a modern CPU, 16 GB RAM, and a fast SSD are enough. These tasks depend
more on responsiveness than raw graphics power. For design, video, or engineering work, prioritize a better CPU,
higher RAM, and a color-accurate display. If your classes use large data sets, choose more storage and consider
an external SSD. The goal is to avoid bottlenecks. A laggy laptop turns simple assignments into long sessions.
Battery life is often more important than peak performance. A device that lasts 8 to 10 hours reduces stress and
keeps you in the library longer. If you spend most of your day on campus, prioritize battery life over thinness.
A slightly heavier device that lasts all day can be more valuable than a thin laptop that needs charging by
mid-afternoon.
Secondary device roles
A secondary device can be a tablet, e-reader, or even a phone with a stylus. Its role is to reduce friction for
reading and quick capture. Tablets are useful for annotating PDFs and drawing diagrams. E-readers reduce eye
fatigue during long reading sessions. Phones are best for scanning handouts and quick reminders. You do not need
all three. Choose the one that supports your most frequent task.
If your budget allows only one device, invest in the laptop first. A strong laptop can still handle reading,
scanning, and light sketching. Secondary devices are an optional layer, not a requirement.
Accessory stack that makes daily life easier
The most valuable accessories are the ones you use every day. A compact charger reduces the number of cables you
carry. A small external SSD prevents storage panic during finals. A slim mouse improves comfort during long
writing sessions. A laptop stand helps posture, especially if you study for hours at a desk. These items are
inexpensive compared to a laptop, but their impact on daily comfort is significant.
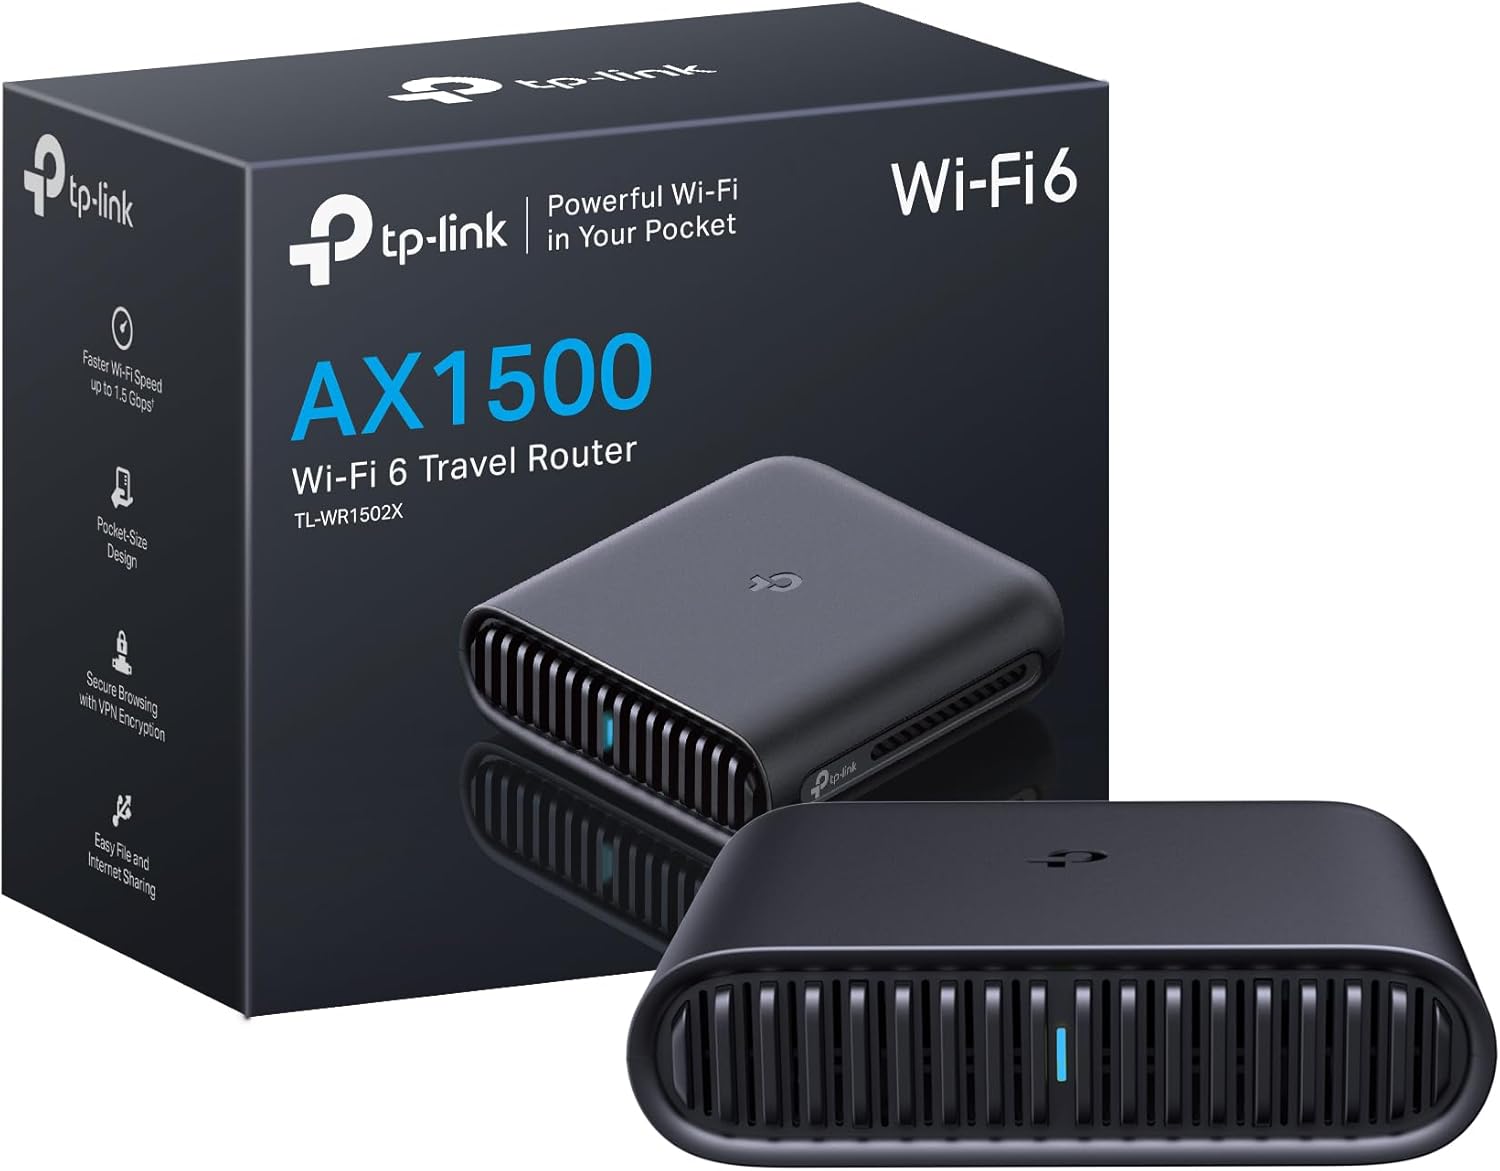
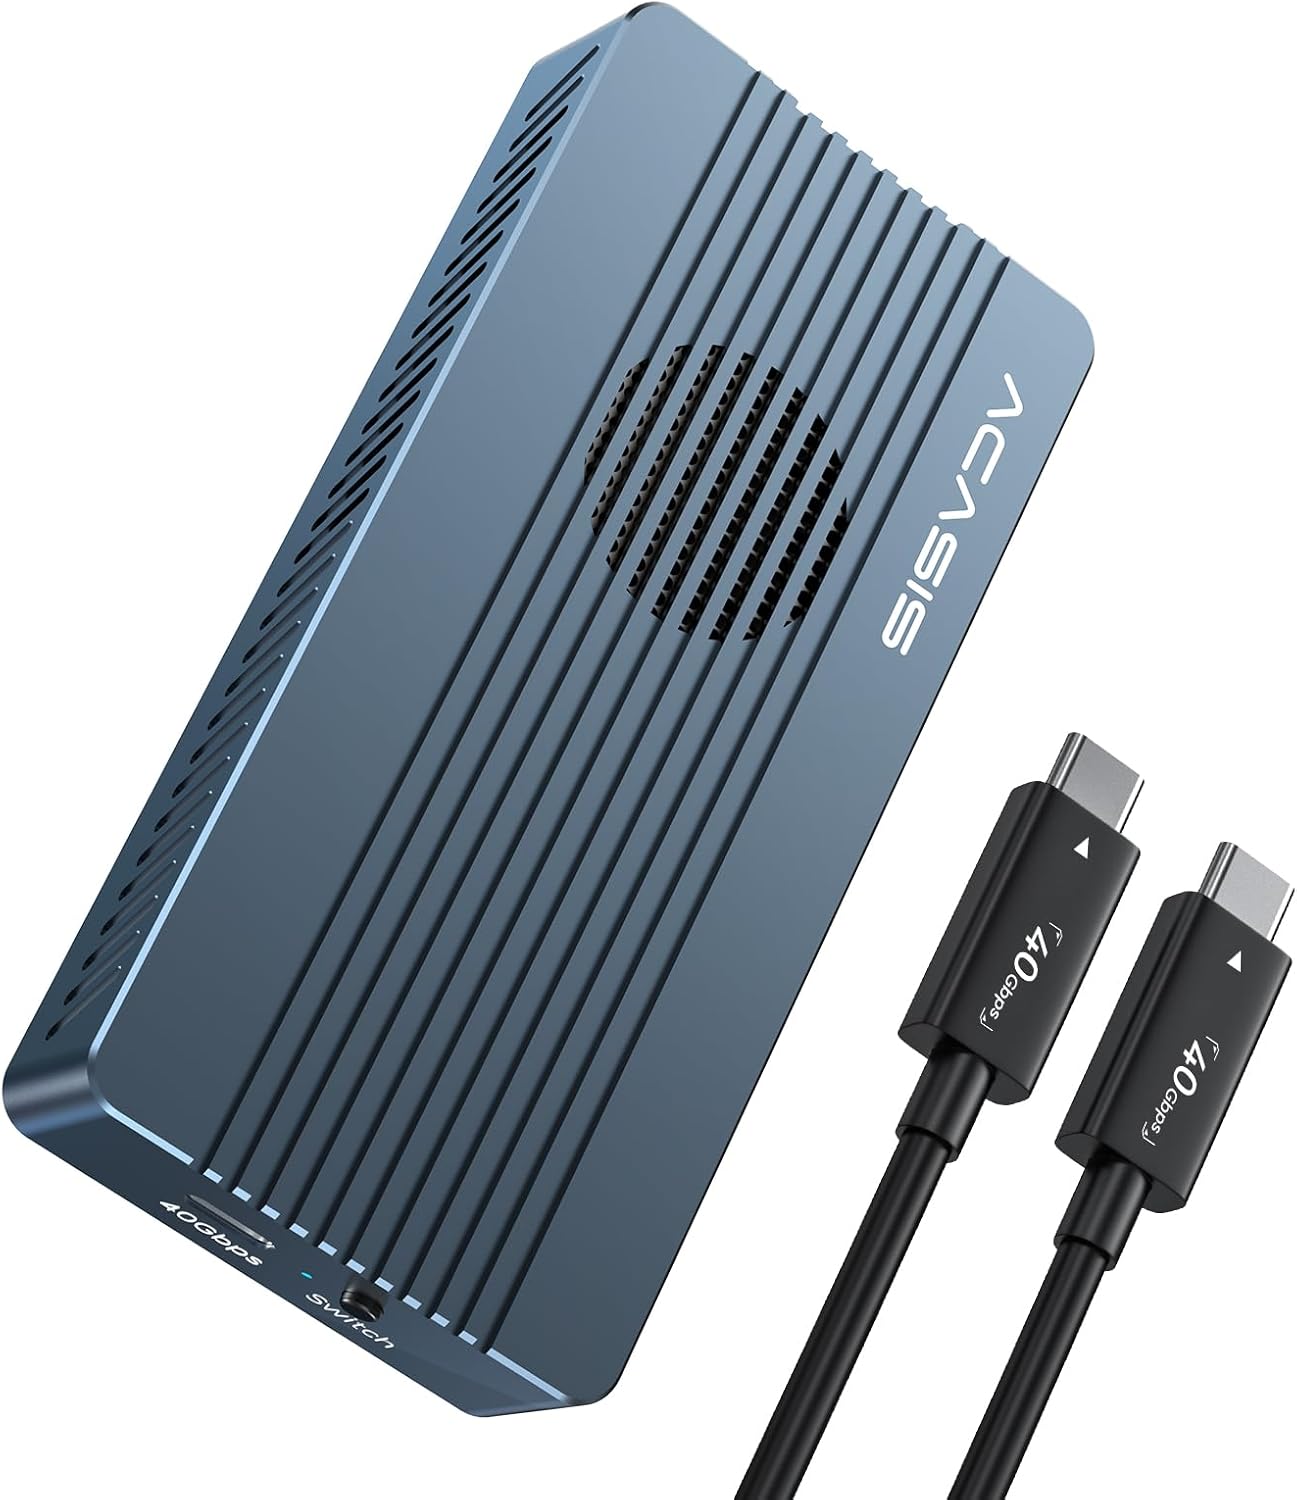
Connectivity and ports
Many modern laptops have fewer ports. That is not a problem if you plan ahead. A small USB-C hub can add HDMI,
USB-A, and SD card slots when you need them. This is useful for presenting in class, connecting to campus
projectors, or transferring files from lab equipment. Choose a hub that supports pass-through charging so you
can power your laptop while using peripherals. This prevents the common problem of running out of battery during
long sessions.
If you use a wired connection for stability, keep a short Ethernet adapter in your bag. It weighs almost
nothing but can save you during crowded Wi-Fi situations. Reliable connectivity is part of your device stack,
especially for online exams or video-heavy classes.
Audio and video for hybrid classes
Hybrid classes are now common. That means your microphone and webcam quality matter more than they did in the
past. A small clip-on mic or a headset with a clear mic can improve participation in group discussions. If your
laptop camera is weak, consider a budget external webcam. You do not need a professional setup, but clear audio
prevents misunderstandings and makes you easier to hear.
For quiet spaces, use a headset with noise suppression. For shared spaces, keep volume controlled so you do not
disturb others. The best audio setup is the one that keeps you engaged without creating friction.
Software stack that supports your device
Hardware is only half of the stack. A simple software set keeps your workflow consistent. Use one calendar and
one task system rather than switching between multiple apps. Choose a note app that syncs across devices and
supports search. Keep your browser organized with a small set of bookmarks for course portals. This reduces
friction when deadlines are close and you need to move fast.
Avoid installing every productivity app you see online. Instead, choose the few that match your core workflows:
notes, planning, and collaboration. If you use AI tools, keep them in a separate folder or browser profile so
they do not clutter your daily workspace. A clean software stack makes your hardware feel faster and keeps your
attention on coursework.
Dorm setup: small space, big productivity
Dorm rooms are small and shared, so your setup must be compact and flexible. The best dorm setups use vertical
space, keep surfaces clear, and minimize clutter. A monitor stand, a cable organizer, and a small charging station
can transform a tiny desk into a functional workspace. The goal is to reduce friction: you should be able to sit
down and start working in under a minute. If you have to move items or untangle cables, your workflow slows down.
Power management is critical in dorms. Outlets are limited and often shared. Use a compact power strip with USB
ports and a GaN charger that can charge multiple devices. This reduces the number of cables and makes your setup
more portable. If you commute, keep a smaller charger in your bag. The fewer items you move daily, the more likely
you are to stay organized.
Noise is another dorm challenge. A noise-canceling headset is one of the most important purchases for focus.
It blocks distraction and improves your ability to study in shared spaces. If you live with roommates, agree on
quiet hours. A consistent schedule reduces conflict and improves concentration. Your tech stack should support
this routine, not disrupt it.
Layout planning for small desks
A small desk can feel big if you plan it well. Keep your monitor or laptop centered. Use a stand to lift the
screen to eye level and store items underneath. Place your keyboard and mouse close to the edge for comfortable
posture. If you use a second screen, choose a compact monitor or a portable display. The idea is to keep one
clear area for writing and one for devices. That separation makes the desk feel less crowded.
Use vertical storage when possible. A small shelf above the desk can hold books and a charging station. This
reduces clutter on the working surface. If your dorm allows it, add a pegboard or wall organizer for cables and
accessories. These small adjustments reduce the time you spend searching for items.
Lighting and audio for focus
Lighting affects both focus and mood. A small desk lamp with adjustable brightness can reduce eye strain during
late-night study sessions. Avoid harsh overhead lighting when possible. For audio, a good headset is more useful
than speakers because it reduces distractions for roommates and keeps your environment controlled. If you take
video calls, consider a small clip-on microphone for clearer audio, especially in echo-prone dorm rooms.
Shared space rules that protect your workflow
Shared spaces require clear boundaries. Set up a simple agreement with roommates about quiet hours and device
placement. Keep your study tools in a single bin or drawer so you can clear space quickly when needed. A portable
setup lets you move to the library without forgetting key accessories. The goal is to avoid daily friction and
reduce conflict.
Portable library kit
Even if you live on campus, you will study elsewhere. Build a small carry kit that always stays in your bag.
Include a compact charger, a backup USB-C cable, a slim notebook, and earbuds. This kit prevents the common
problem of arriving at the library without the tools you need. It also reduces the stress of packing each day.
The goal is to make study sessions possible anywhere, not only at your desk.
Keep your kit light. If it becomes too heavy, you will stop using it. A good rule is that everything should fit
in a single pouch. This makes it easy to move between dorm, library, and coffee shop without forgetting items.
Commuter fallback setup
If you commute, build a fallback setup that works even when you cannot access a desk. This might mean using a
tablet for reading, a laptop stand that folds flat, or a power bank that keeps you running during long transit
days. Keep offline copies of key readings so you can study without Wi-Fi. A commuter setup is about resilience:
you should be able to study on a train, in a hallway, or in a quiet corner without losing time.
Cable and accessory management
Dorm rooms get messy quickly because cables and accessories have no fixed place. Create a small cable kit with
labels for each cable. Keep it in a pouch or drawer so you can find what you need in seconds. Use cable clips or
sleeves to keep desk cables tidy and prevent them from tangling under the desk. This makes your workspace easier
to clean and reduces the time spent searching for chargers.
A simple rule helps: one cable in your bag, one cable at your desk, one cable in a backup pouch. This keeps you
covered if you forget something on campus or lose a cable. It is a small investment that removes a frequent
source of stress.
Focus habits: the low-cost upgrade that beats new hardware
Focus habits are the most underrated part of a student tech stack. A powerful laptop does not help if your
attention is constantly interrupted. The best focus habit is to create a simple study ritual: clear your desk,
open only the tools you need, and set a time block for the task. When the timer ends, take a short break. This
routine reduces mental fatigue and makes it easier to review complex material. It also prevents the common
mistake of multitasking between social media and assignments.
Another focus habit is to separate drafting and reviewing. If you are writing an essay, dedicate one session to
drafting and another to editing. This mirrors professional workflows and reduces the chance of missing errors. AI
tools can help with drafting, but you should still review with fresh attention. A simple rule: never submit the
first AI output. Always review and rewrite in your own voice.
Use your devices to support focus. Turn on do-not-disturb during study sessions. Use app blockers if you are
easily distracted. Keep your phone in a drawer if you find yourself checking it too often. These habits cost
nothing but often deliver more productivity than an expensive upgrade. Technology works best when paired with
discipline.
Time blocks that match your energy
Not all hours are equal. Most students have two or three high-energy windows each day. Use those windows for
harder tasks such as problem sets or writing drafts. Use lower-energy periods for simple tasks like formatting,
organizing files, or reviewing flashcards. This approach makes your schedule more realistic and reduces burnout.
Time blocks work best when they are short and focused. Try 50 minutes of work followed by a 10-minute break.
Keep a simple weekly plan. Write down your top three priorities for each day. This keeps you focused on what
matters and reduces decision fatigue. Your tech stack should support this habit with reminders, calendar blocks,
and minimal distractions.
Digital hygiene that prevents distraction
Digital hygiene means keeping your device clean and your attention protected. Unsubscribe from unnecessary
email lists. Turn off autoplay on video platforms. Close social apps during study blocks. These are small changes
but they reduce mental noise. A clean notification system makes it easier to focus for longer periods.
Sleep and recovery as part of the stack
A student tech stack is incomplete without sleep. The best productivity tool is rest. Use night mode or blue
light filters in the evening. Avoid heavy study right before bed if it keeps you awake. A consistent sleep
schedule improves memory retention and reduces stress. Your tech should support rest, not interrupt it.
Attention reset routine
When focus slips, a quick reset can save the session. Stand up, drink water, and clear your desk surface. Close
unnecessary tabs and reopen only the documents you need. Use a short timer to restart work with a specific goal,
such as finishing one page or solving five problems. This routine takes five minutes but can recover a full hour
of productivity.
Track what breaks your focus. If you notice a pattern such as checking messages every 10 minutes, set a rule to
check messages only during breaks. These small rules build discipline without forcing extreme restrictions. The
goal is sustainable focus, not rigid control.
AI for students: using tools responsibly and effectively
AI tools can help students summarize readings, draft outlines, and check clarity. The key is to use AI as a
study assistant, not a replacement for learning. Use AI to generate a summary, then verify it against your notes.
Use AI to draft an outline, then write the essay in your own voice. Use AI to create practice questions, then
answer them without looking. This approach keeps your work honest and improves your understanding.
The best AI workflow for students is low risk: summarize, organize, and practice. Avoid using AI for final
answers or citations without verification. If your school has AI policies, follow them. When in doubt, ask your
instructor. Using AI responsibly protects your academic integrity and builds trust. The guide
AI tools for students
provides safe examples and tool recommendations.
AI can also improve accessibility. Students who struggle with reading can use summaries to understand complex
texts. Students with writing challenges can use AI to improve grammar and clarity. These use cases are valid and
valuable. The goal is not to avoid AI but to use it in a way that supports learning. A good rule is to treat AI
output as a draft and always add your own understanding. That is how AI becomes a learning partner rather than a
shortcut.
Safe AI use checklist
Start by using AI for low-risk tasks. Summaries, outlines, and practice questions are safe places to begin. Keep
your prompts generic and avoid pasting personal data. Always verify facts against your notes or textbook. If you
are unsure about a policy, ask your instructor. Many schools allow AI for brainstorming but not for final
submissions. Following those boundaries protects your academic integrity.
Use AI as a learning tool, not a shortcut. The best pattern is: ask for a summary, then rewrite it in your own
words. Ask for practice questions, then answer them without help. Use AI to improve clarity, then keep your
original ideas. This workflow strengthens learning rather than replacing it.
Prompting strategies that improve results
Good prompts are specific. Include your goal, the expected output, and the format. For example, say "summarize
this into five bullet points and list two questions to test understanding." This produces a useful study aid
rather than a vague summary. You can also ask the tool to highlight uncertainty so you know what to verify.
Keep a small prompt library for recurring tasks. Store it in a notes app so you can reuse it across courses.
This saves time and improves consistency. If you want a deeper prompt framework, see
AI tools guide 2026.
Ethics and policy awareness
Ethical use of AI means respecting school rules and being transparent when required. Some classes encourage AI
for brainstorming. Others prohibit it entirely. The safest approach is to assume you must do the core thinking
yourself. AI can help you organize, but it should not replace your understanding. If you are in doubt, keep AI
usage minimal and document your process.
When not to use AI
Do not use AI to generate final answers for graded assignments if your course policy forbids it. Avoid using AI
to create citations unless you verify every source. Do not paste private data, student records, or exam questions
into public tools. If you are unsure, ask your instructor or use AI only for brainstorming. This conservative
approach protects your academic standing and keeps your work defensible.
AI is also a poor fit for tasks that require original analysis, such as lab conclusions or personal reflections.
Use it to organize your thoughts, but keep the final ideas in your own words. This builds your skills and avoids
dependence on automated output.
Privacy and safety: protect your data and identity
Students often use public Wi-Fi and shared devices, which increases privacy risks. Protect your data by using
strong passwords, enabling two-factor authentication, and avoiding saving sensitive information on shared
computers. If you use AI tools, do not paste personal details or private data. Keep your prompts generic and add
sensitive details later. This is a simple but effective rule that prevents accidental exposure.
A password manager is one of the best safety tools you can use. It reduces the risk of reused passwords and helps
you keep accounts secure. Back up your files in two places: cloud storage and a local drive. This protects you
against device loss or failure. If your laptop is stolen, you should be able to restore your work quickly.
Privacy also means controlling who sees your work. Avoid leaving devices unlocked in public spaces. Use a privacy
screen if you study in crowded areas. These small habits reduce the chance of accidental exposure and keep your
work safe.
Public Wi-Fi survival rules
Public Wi-Fi is convenient but risky. Avoid logging into sensitive accounts on open networks. Use your phone
hotspot for banking or school portals if possible. If you must use public Wi-Fi, keep your device firewall
enabled and avoid file sharing. Do not leave automatic connection settings on for unknown networks. These steps
reduce exposure to snooping or account compromise.
For group projects, share files through trusted platforms rather than email attachments. A shared folder with
permissions is safer and easier to manage. This also keeps version control simple.
Backup strategy that prevents panic
A strong backup plan uses the 3-2-1 rule: three copies of important files, on two different types of storage,
with one copy off-site. In practice, that means your laptop, cloud storage, and a small external drive. You do
not need daily backups. Weekly is enough for most students. Set a recurring calendar reminder so you do not
forget.
Store your most important documents in a dedicated folder with a simple naming scheme. This makes it easy to
restore files quickly if you lose your device. The time you spend organizing now saves you hours later.
Device security basics
Enable device encryption and a strong login password. Use biometric login if available. Turn on remote tracking
so you can locate your device if it is lost. These features are often built into the operating system and take
minutes to configure. They are worth it.
Cloud sharing permissions
Cloud storage makes collaboration easy, but permissions can expose your files. Before sharing a link, check who
can access it. Use "view only" permissions when possible and avoid public links for sensitive work. If you use a
shared folder for a class, review the settings monthly to ensure only your group members have access. These
checks prevent accidental exposure of drafts or grades.
For group work, assign one person to manage permissions and file structure. This reduces confusion and prevents
the common problem of multiple versions spread across different links. A clean shared space is both safer and
easier to use.
Phishing and account protection
Students are frequent targets for phishing emails that look like official campus messages. Always check the
sender address before clicking links. If an email asks for your password, treat it as suspicious. Use your
school portal directly instead of logging in through email links. Enable two-factor authentication on your
school accounts and email. These steps reduce the risk of losing access to important academic systems.
If you suspect a phishing attempt, report it to your school IT help desk. This protects not only you, but also
your classmates. Security is a shared responsibility on campus.
Accessibility: tools that help more students succeed
Accessibility tools are part of a modern student stack. Live captions, screen readers, and text-to-speech
features help students who learn differently. Many laptops include built-in accessibility settings. Explore
these options early so you can use them when needed. If you use AI tools, they can also support accessibility by
summarizing long readings or generating simpler explanations. These tools help remove barriers without reducing
academic standards.
If you are a student with accessibility needs, create a consistent set of tools you use in every class. That
might include captioning software, a note-taking app, and a transcript tool. Consistency reduces stress because
you do not need to reconfigure your setup for every course. The goal is to build a system that supports you
across the entire semester.
Built-in tools worth learning
Most modern laptops include accessibility tools that are easy to enable. Screen readers can read documents aloud,
which helps with long readings. Text-to-speech can turn PDFs into audio for commutes. Live captions can assist
during recorded lectures. These features are often underused, yet they can reduce strain and make study sessions
more efficient.
If you are unsure where to start, search your system settings for accessibility and experiment with one tool at
a time. The goal is not to enable everything, but to find one or two features that make learning easier. Pair
these tools with the study workflows described above for best results.
Classroom accommodations with tech
If you receive accommodations, make sure your tech supports them. For example, if you need extended time, use a
timer or reminder system. If you need note-taking support, set up a recording or transcription tool. Keep your
accommodation settings consistent across all devices so you are not reconfiguring during exams.
AI tools can assist with simplified explanations or summaries, but they should not replace the official course
materials. If you want a safe overview of AI study support, see
AI tools for students.
Inclusive workflows that help everyone
Accessibility tools are useful for all students, not only those with accommodations. Captions help during noisy
lectures. Larger text improves reading speed. Clear summaries reduce confusion. When you build these features
into your workflow, you reduce stress and improve retention. Accessibility is not a niche feature; it is part
of a modern study system.
Note-taking support for different needs
Some students prefer audio, others prefer text, and some need both. A simple approach is to record audio while
taking short notes, then use the audio only when you need clarification. This reduces the time spent listening
to full recordings and keeps your notes focused. For students who benefit from visual aids, use diagrams or
color-coded headings to make structure obvious at a glance.
If you use captions or transcripts, store them with your notes so you can search across both. This makes review
faster and helps you find specific explanations when preparing for exams. Accessibility is about choice: you
should be able to switch between text, audio, and visuals based on what works best for you in each class.
Maintenance: keep your stack reliable all semester
A student tech stack fails most often because of small maintenance issues: low storage, outdated software, and
messy files. Prevent these problems by doing monthly maintenance. Delete old files, back up critical documents,
and update software. A clean system runs faster and reduces stress during deadlines. If you use a shared computer
lab, always log out and remove files from shared machines.
Battery health also matters. Avoid running your laptop at full charge all the time. If possible, keep it between
20 and 80 percent. This extends battery lifespan. A portable charger can help when you are away from outlets for
long days. These small habits keep your devices reliable when you need them most.
Monthly maintenance checklist
Once per month, run a simple maintenance checklist. Update your operating system, clear old downloads, empty the
recycle bin, and review storage usage. Delete duplicate files or move them to cloud storage. Check your backup
status and ensure your documents are syncing correctly. This takes less than 30 minutes and prevents most
long-term performance problems.
Also check for physical wear. Clean your keyboard and screen with a microfiber cloth. Inspect charging cables for
fraying. Replace damaged cables before they fail. Small preventative steps extend the life of your devices.
Storage and file organization
Create a simple folder structure by semester, then by course. Use clear file names like "BIO101_Lecture3_Notes"
instead of generic labels. This makes it easy to find documents during exams. Use a consistent naming scheme for
assignments and submissions. When you apply this system early, it becomes automatic.
Keep one master folder for administrative documents such as tuition receipts, schedules, and official letters.
These documents are often needed quickly, so storing them together prevents stress.
Hardware care that saves money
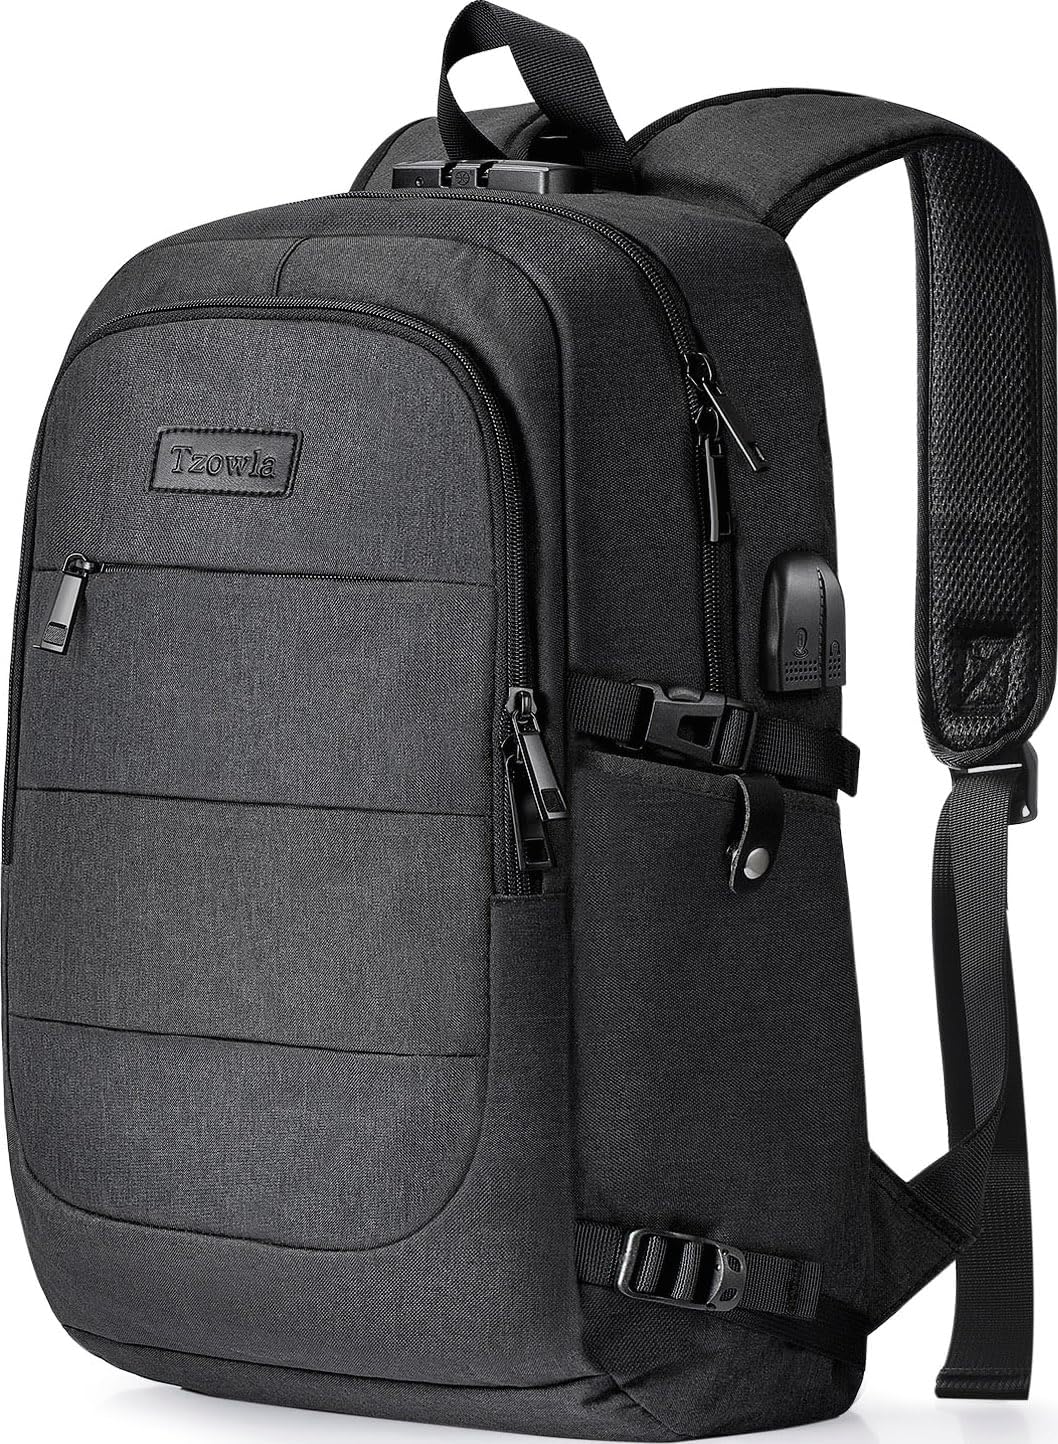
Avoid eating over your laptop. Keep liquids away from your desk. Use a sleeve in your backpack. These habits
sound basic, but they prevent the most common student device failures. If you commute, consider a waterproof
bag or a rain cover. It is a small investment that protects your most expensive tool.
Semester reset routine
At the end of each semester, do a deeper reset. Archive old course folders, remove unused apps, and update your
storage plan. Create a fresh folder structure for the new term before classes start. This prevents clutter from
carrying over. It also makes it easier to find the new syllabus and assignment files as soon as classes begin.
Use the reset to review your workflow. If you noticed recurring issues like missed deadlines or messy group
files, adjust your system now. Small changes between semesters can make a big difference in the next one. Treat
the reset as a short investment that pays off across months of study.
Buying guide: choose the right tools for your major
Different majors have different requirements. Business and humanities students can focus on portability and
battery life. Design and engineering students need more processing power and better displays. Science students
often need reliable data storage and lab-friendly accessories. Use the guide below as a starting point. It is
not a strict rule, but a practical framework for choosing devices that align with your coursework.
Business/humanities: prioritize a lightweight laptop, 16 GB of RAM, and a long battery life. Engineering/design:
prioritize a stronger CPU, 16-32 GB of RAM, and a higher quality display. Science/health: prioritize storage and
reliability, plus a good webcam for remote labs. If you are unsure, choose a balanced laptop with a recent CPU
and a reliable warranty. Then add accessories based on your course needs.
If you need more help, the product section below includes tested picks that match these categories. Use the
categories to find devices that align with your major rather than browsing randomly. This saves time and reduces
the chance of a wrong purchase.
Major-specific examples in practice
An English major can prioritize a lightweight laptop, a comfortable keyboard, and a strong note system. The
workload is mostly writing and reading. A business student might add spreadsheet capability and a better webcam
for presentations. A computer science student should prioritize RAM and a fast SSD for development tools. A
design student should prioritize screen quality and color accuracy. These are practical differences that change
how you should allocate your budget.
The same principle applies to accessories. A biology student may need extra storage for lab data. A media student
may need external drives for video files. A teacher education student might prioritize a good microphone for
teaching practice. Think of your tech stack as a toolset that supports your course requirements, not a generic
status symbol.
Used and refurbished buying
Refurbished devices can offer strong value if they come from trusted sources. Look for devices with warranty and
clear return policies. Avoid older models that cannot receive updates for the full duration of your degree. A
refurbished laptop that still has several years of software support is often a better value than a brand new
budget device that struggles with performance.
Inspect battery health if possible and avoid devices with visible physical damage. If you are buying from a
marketplace, meet in a public place and test the device thoroughly. The goal is to reduce risk while saving
money. Done correctly, refurbished purchases can free up budget for accessories that improve daily comfort.
Timing your purchases
Student discounts are often strongest in late summer and early fall. Back-to-school sales can reduce prices on
laptops, tablets, and accessories. If you can wait, plan purchases around these cycles. Also consider end-of-year
clearance when new models are released. Older models can still perform well at lower prices.
Do not buy everything in one week. Buy core items first, test them, and then add accessories as needed. This
prevents unnecessary purchases and ensures you are investing in tools that actually help your workflow.
Before you buy, check your program requirements. Some classes require specific software or hardware features.
Knowing those requirements early prevents wasted purchases. If your school has a recommended device list, use it
as a baseline, then adjust based on your budget and workflow. This extra check is small but can save you from a
costly mismatch.
Picks are curated for Canadian availability, student budgets, and reliable warranty support.
Full Guide
auto_awesome
How to build a smart campus tech stack
College life moves fast. The right tech keeps you organized, focused, and ready to recharge after long days.
Use the sections below to plan your essentials, dorm upgrades, and fun gear without overspending.
A reliable laptop is the foundation for research, papers, and collaboration. Aim for 8+ hours of battery, fast multitasking, and a weight that will not slow you down.
Your smartphone doubles as a planner, scanner, and study tool. Build a stack of campus apps for calendars, task lists, and group projects.
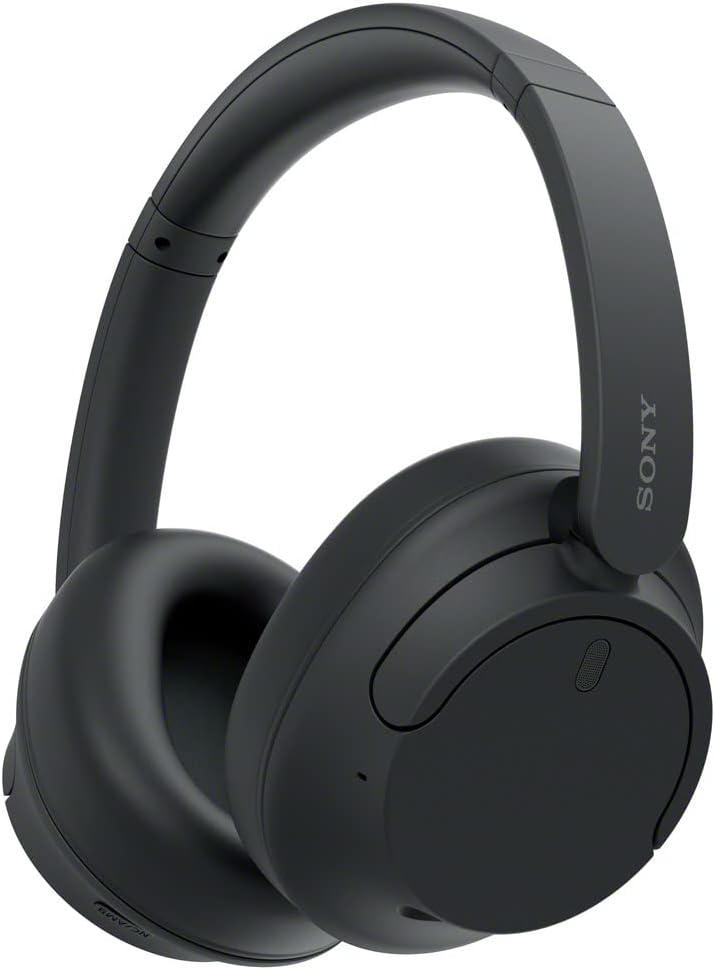
Noise-canceling headphones help you focus in noisy dorms and shared libraries. Over-ear models with strong battery life are the safest bet.
8+ hours of real battery life for long class days.
Fast processors for note-taking, research, and media projects.
Lightweight builds that survive backpack commutes.
Check student discounts through campus portals before you buy.
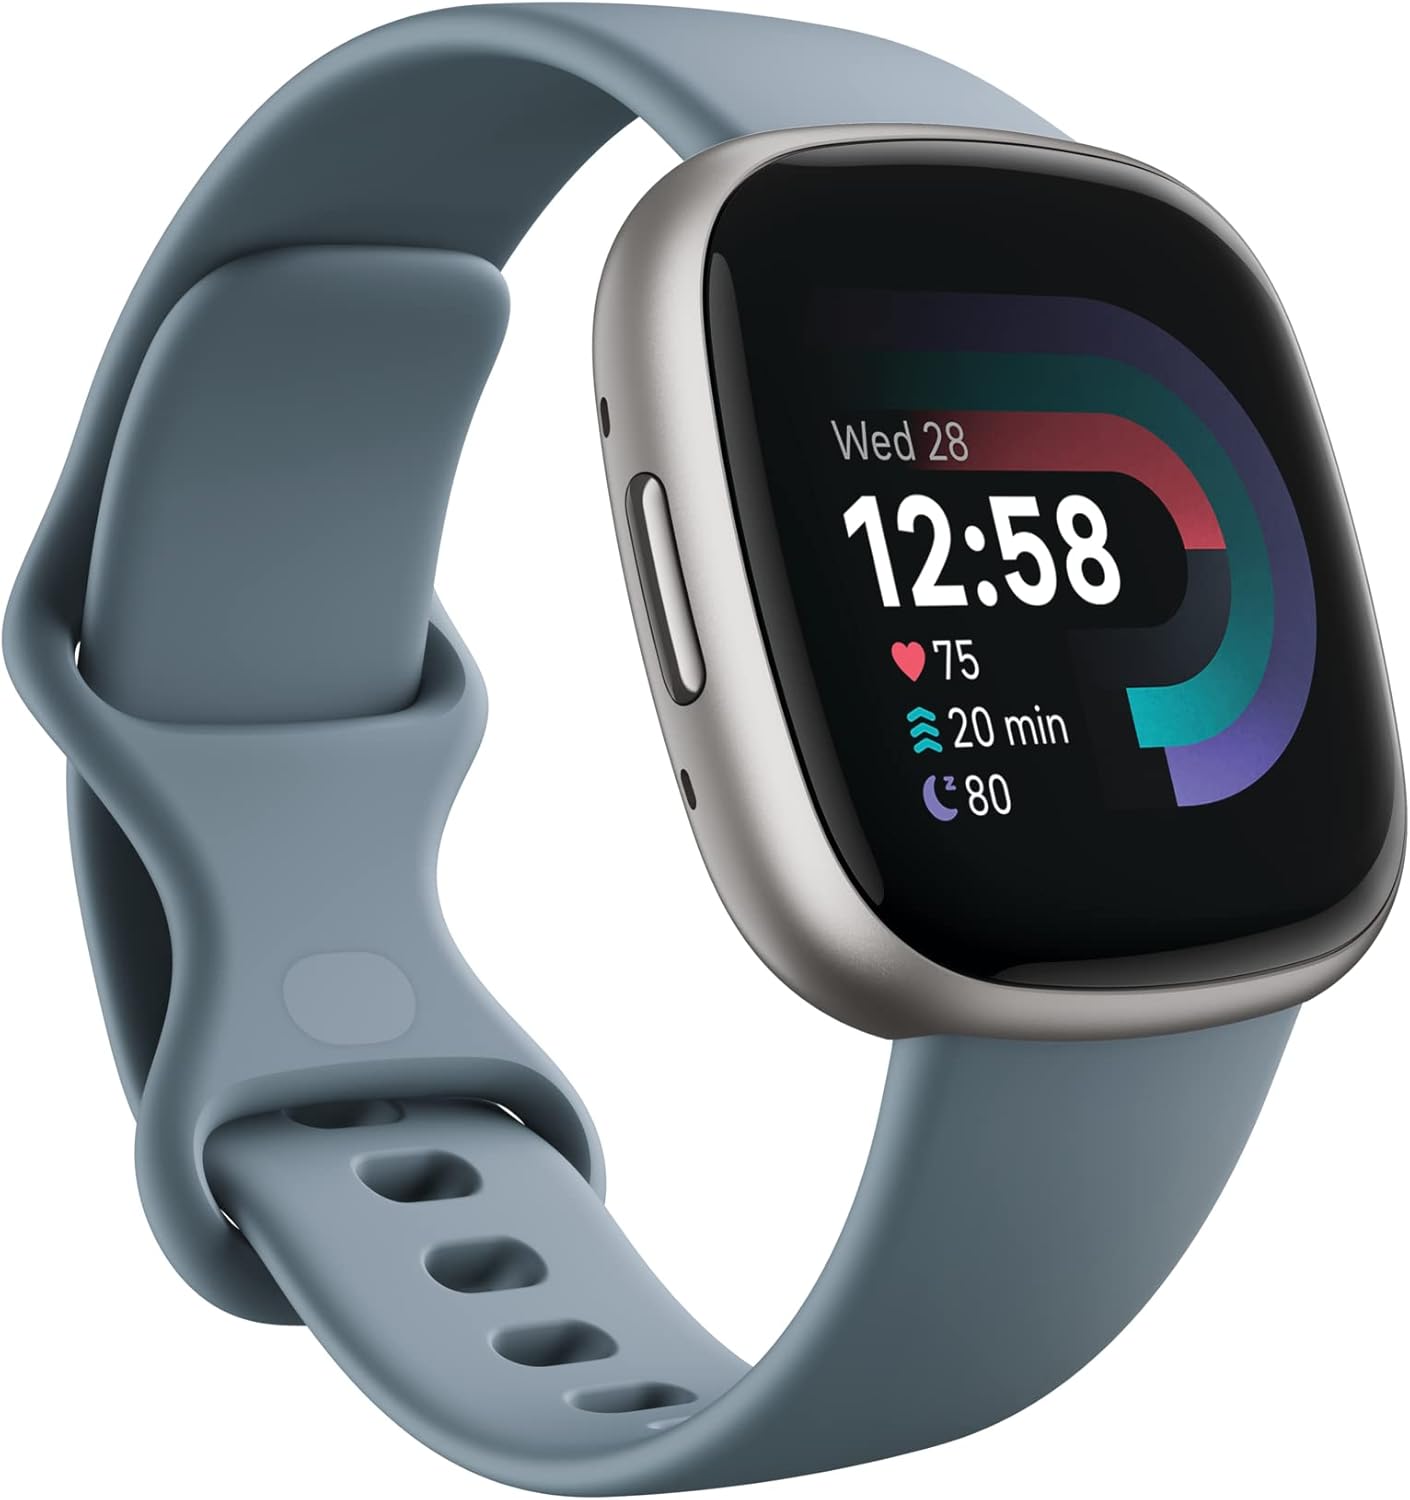
Smart planners, watches, and trackers help you keep up with deadlines and daily routines. Bluetooth trackers can save your keys, wallet, or backpack.
Sync your calendars across laptop, phone, and tablet to avoid missed assignments.
Smart speakers, mini projectors, clip-on reading lamps, and compact fans are small upgrades that improve comfort without taking up space.
USB power strips with surge protection are a must when outlets are limited.
Bluetooth speakers, tablets for reading, portable gaming consoles, and streaming sticks help you recharge between classes.
Downtime is part of a healthy routine. Build it into your setup.
Consider device protection or renters insurance for high-value gear. A single loss can derail a semester and your budget.
Always back up assignments to a portable SSD or cloud storage.
Find Your Fit
manage_search
Student Tech Finder
Filter by category, budget, and store to see the best options for your campus workflow.
Use the compare button to surface the most relevant offers.
Shop by store
12 results
Prices in CAD
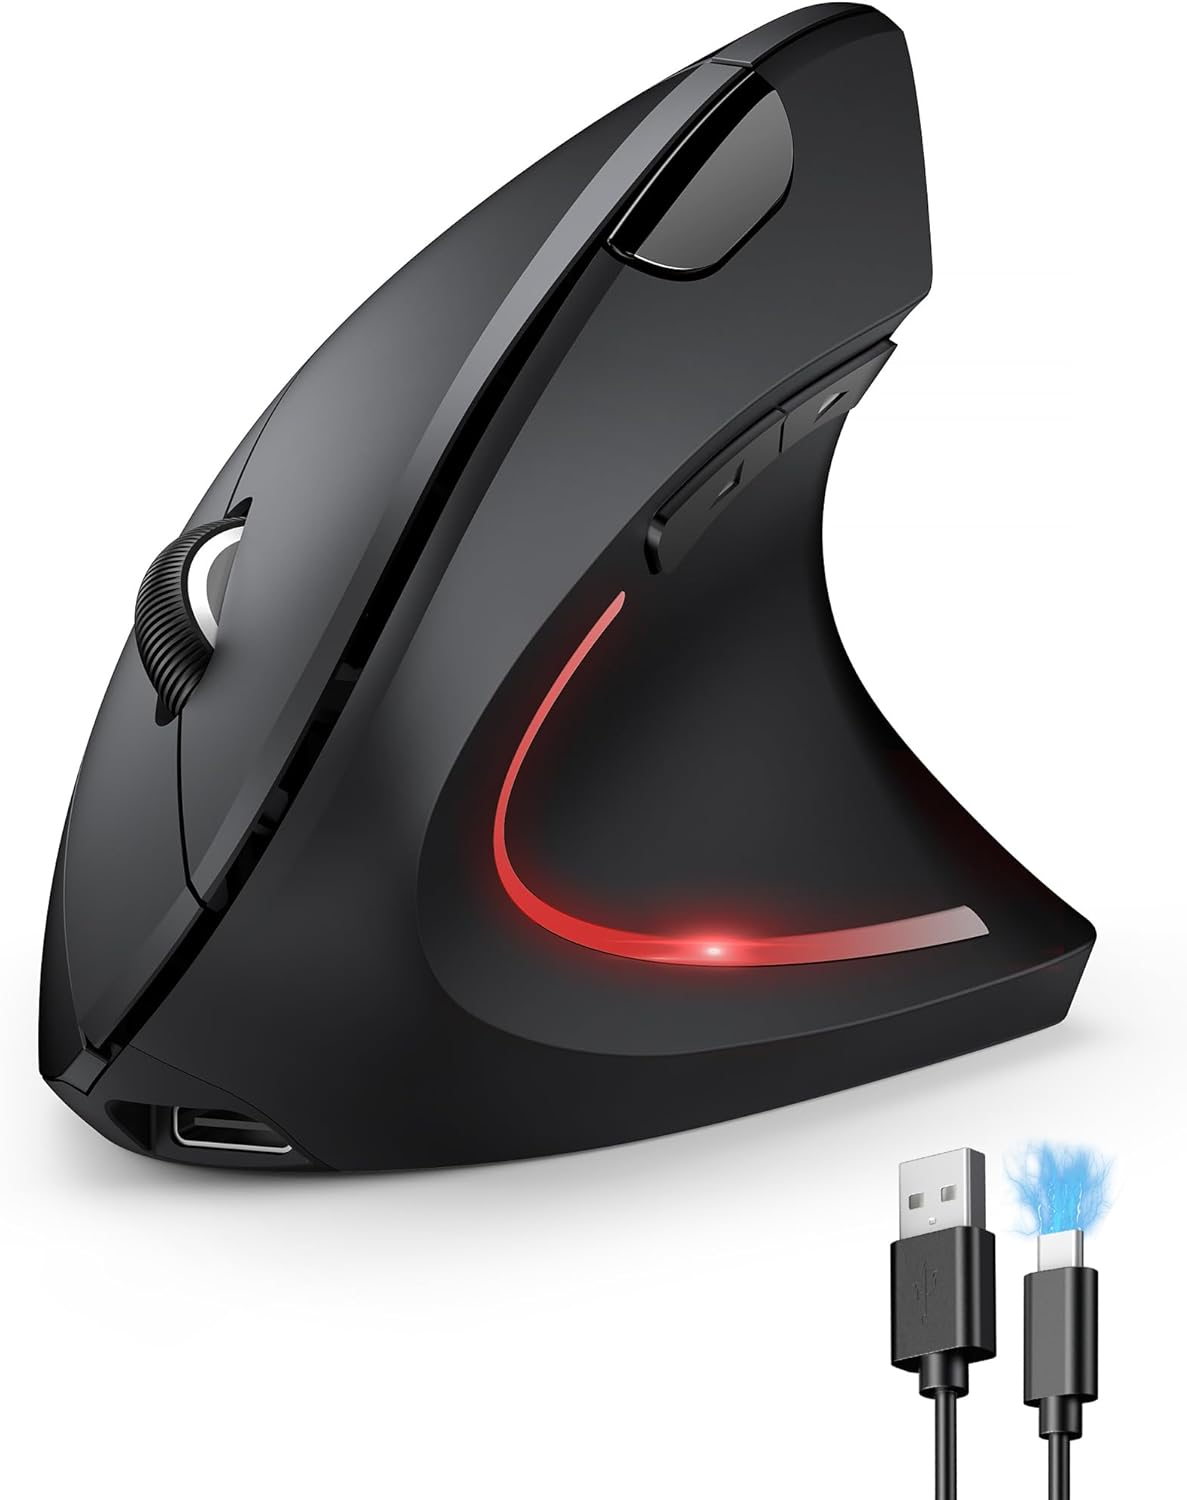
Ergonomic Mouse
TECKNET Ergonomic Wireless Mouse
Comfortable vertical design with quiet clicks for long study sessions.